The app is using my personal Cloudinary account - so please keep uploads in the app low - and use your own Cloudinary account if you are going to do exploration of cloudinary
Background
Glide has an image upload functionality where the images are uploaded to Glide. Unfortunatly, these images are out of control from us as app developers. This means that we cannot delete the images by ourselves. We will need this due to GDPR regulations.
Idea
Let the user upload images from within Glide and store it outside Glide
Use Cloudinary as the store for the images
Every image is linked to a company - and therefore named accordingly.
The user can upload as many images to the company as he wants
Use of the app
Create a new company (in the Company tab)
Select the company to which the images must be added (in Upload images to company tab)
Click the button to add images to the company - and see which has already been added
Click Upload an images
Click the button Select file to upload - this id done inside a webview (The webview is refering to an external html page)
Select the place where the image resides (locally, facebook etc)
Select the image
Click Send in upper right corner
The image is now added.
The process is a bit cumbersome compared to the process by using Glides build-in image upload.
Bonus
There are a number of advantages doing it in this way
Ability to control your own images (including deleting them)
Ability to upload images from Google drive, Facebook, Instagram etc
Ability to do pre-processing of the image before it is stored. I have cartoonified the image, optimized the size, rounded the image cornes, stored the images as jpg. More can be done.
Tricks
The companies to which the images are to be assigned must be created before images are uploaded. This is due to the fact that the images must be linked to the companies. This cannot be done in one process (I don’t think so - if somebody can do it - that would be great)
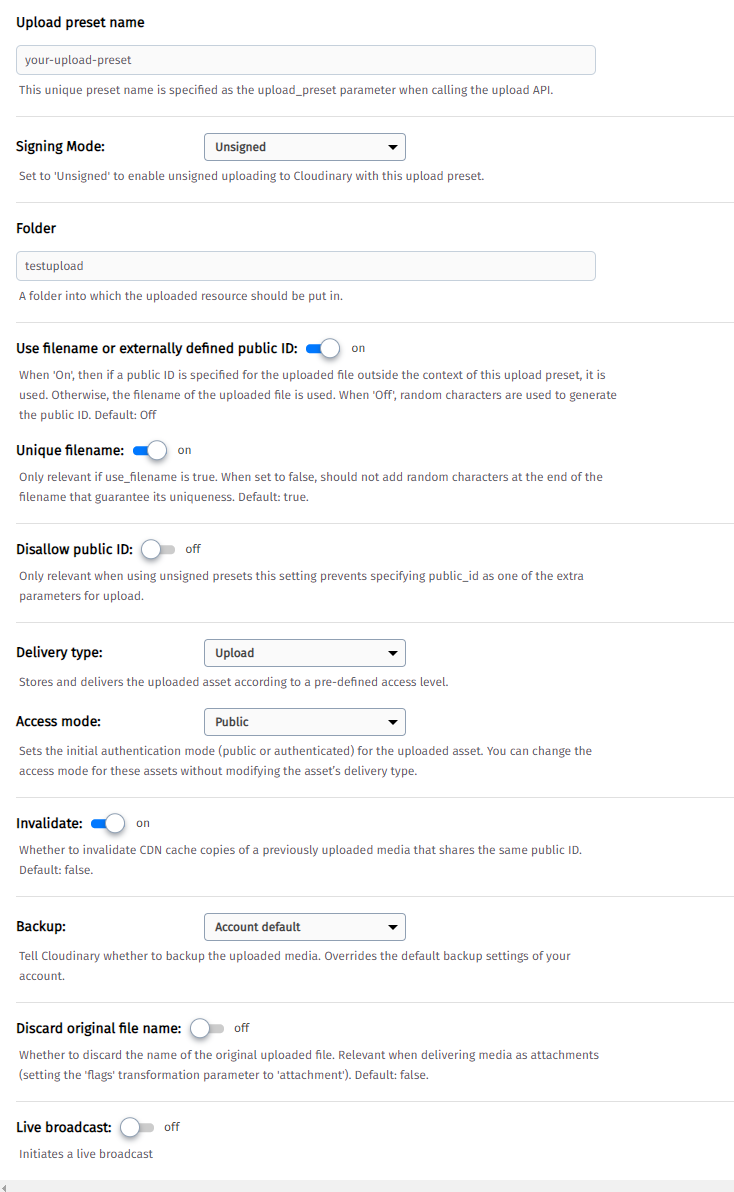
A webpage is created outside Glide to get the Cloudinary upload functionality available inside Glide by use of Open webview action on a button.
A rollup column is used to determine how many images that already have been uploaded for the company - and thereafter “add one” to the file name for the new image.
Added an inactive column in images so images can be made inactive in the google sheet and deleted in Cloudinary
Hi @Krivo, many thanks for this very complete tutorial. I’ve never used Cloudinary, and maybe it may answer my challenge:
I need to create 1 QR Code from different pictures that my users upload in Glide (cf. pictures of recto-verso papers).
My idea is to rebuild these X pictures into 1 > then use the QR Code formula (cf. QR Code - Attendee Check-In)
I should then be able to send this QR Code picture by mail.
Of course, all should be automatic…
Is Cloudinary able to deliver this or am I dreaming awaken?
Hi @AyS_0908 i’m not sure what you want Cloudinary to do. Do you want Cloudinary to stich the images - so they become one picture?
If so, I wonder whether you can have a blank background image and the do overlays with the X images so they will form one new image where you can scan the QR code. The challenge would be to resize and position the images to one image
Thanks @Krivo, this seems to be the target … even if it also seems quite complicated to set up for a non IT guy.
I will give it a try though …
Thanks again
@AyS_0908 if you are going do placement of images on an empty background image you might get a bit inspired by the documentation in this thread about cloudinary
@Alexdz what is it you are missing? Is it the webpage with the link?
Notice that is user experience isn’t the best as there are many steps before the image is uploaded. Have you tried it out yourself?
Yes, exactly, how do you get the upload button? I guess the button on the webpage is just an iframe or something like that, but where do you get the button from? Sorry, just signed up to Cloudinary yesterday Mange tak!
Thank you. Those were helpful, but not exactly what I am looking for. I can get the URL from cloudinary manually and add it to the sheet manually, but I am looking for how to do this automatically. What I can’t figure out is how to change the ID on the upload so that I can pull that. I followed the link that was posted above
and am able to change the code, but it only changes it for the first image. Then when I go to upload another image, it pulls the image that already has that name into it.

 Mange tak!