What’s Up Gliders!
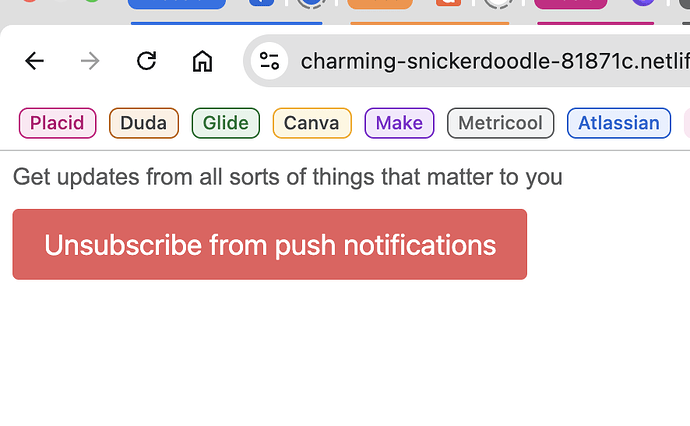
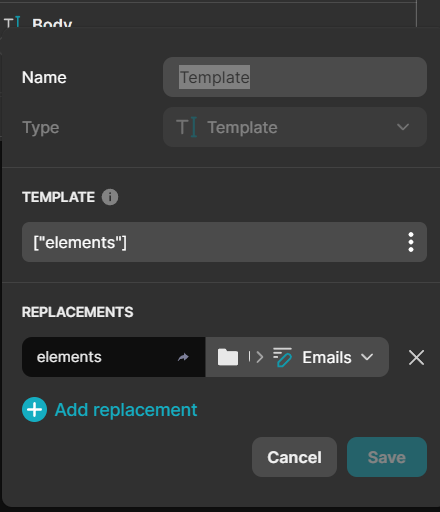
In this video, I walk you through the process of setting up push notifications for your Glide App using OneSignal. We start by creating a free account on Netlify and uploading two essential files to spin up a “mini website”. Then, I guide you through configuring OneSignal, including creating a new app and customising the push prompt. Finally, I demonstrate how to set up the necessary columns in Glide to manage user notifications effectively.
There may be other (possibly better) methods, but this is a bare-bones illustration of how you can enable push notifications without too much hassle.
Improvements:
If you wanted to make this more robust and offer a better UX, you can (for example) modify the code for the mini website so it sends a post request to Glide to automatically mark “Push Notifications/Enabled” as true, thus removing the need for them to click “Done”. There are, of course, many other tweaks you can make to improve this setup (like redirecting back to Glide after successfully enabling notifications, adding links to notifications, etc)… But the goal with this video was to show the underlying structure of how you can enable notifications without getting too far into the weeds!
If you are on the Glide Free plan (or don’t have access to workflows/call api):
The only part of this tutorial that you’ll need a different method for is the triggering of the Push Notifications (Call API) and the “Open Link” workflow (as far as I know).
There are several work-arounds:
- For the 2-step “Open Link” workflow, you can just have them open the link, enable notifications, then close the tab. The only reason we have the work flow is to conditionally change the interface based on their status, but ultimately, as long as they have clicked that button, opened the link, and enabled notifications… You should be good to go.
- For the Call API workflow that actually triggers the notifications to send, you can try to use the native Glide “Send Email” action to send an email to a specific email address. To test this (it worked) I created an n8n scenario that watched my inbox for emails with a specific subject line, and when it found an email that matched it, it used code node extract the heading, content and emails from the email body, then used a HTTP node to send an API call to OneSignal, thus pushing the notification to your users. I’m sure there are other ways, perhaps some others from the community can find some work-arounds too!
Either way, below are the files you need for the mini website.
Enjoy! ![]()
![]() 𝗠𝗶𝗻𝗶 𝗪𝗲𝗯𝘀𝗶𝘁𝗲 𝗙𝗶𝗹𝗲𝘀
𝗠𝗶𝗻𝗶 𝗪𝗲𝗯𝘀𝗶𝘁𝗲 𝗙𝗶𝗹𝗲𝘀 ![]()
![]() 𝗖𝗼𝗱𝗲 𝗦𝗻𝗶𝗽𝗽𝗲𝘁𝘀
𝗖𝗼𝗱𝗲 𝗦𝗻𝗶𝗽𝗽𝗲𝘁𝘀 ![]()


