Hi everyone! 
I need some help with my Glide app.
I would like to add an extra image inside the side menu (hamburger menu) — specifically below the menu items that appear when you tap the top-left menu.
The goal is to place the main sponsor logo of the app in that space.
Has anyone found a workaround or a way to do this?
Is it possible with custom CSS, a component trick, or any other method?
I will attach a screenshot soon to show exactly where I’d like the image to appear.
Additionally, I’d love advice about the splash screen:
I would like to customize it and include the sponsor logo there as well.
What are the best methods or best practices to achieve this in Glide?
Thanks a lot 
The sponsor logo could be done with custom CSS. For the splash screen, might be more difficult if you don’t want flickers to happen by using standard components.
Thanks for the suggestion! Could you please share a bit more detail about how this could be implemented?
For example, any tips, examples, or resources that could help point me in the right direction would be really appreciated.
Thanks in advance!
nav[aria-label="Side Navigation"] ul::after {
  content: "Sponsored by LowCode Agency";
  display: block;

  /* Layout & Spacing */
  margin: 20px auto; /* Centers the block and adds vertical space */
  width: 90%;        /* Uses most of the sidebar width for the wide logo */
  padding-top: 70px; /* HEIGHT OF LOGO: Increase this number if the image overlaps the text */

  /* Image Styling */
  background-image: url('REPLACE_WITH_YOUR_IMAGE_URL');
  background-position: center top;
  background-size: contain; /* Ensures the wide logo fits perfectly without stretching */
  background-repeat: no-repeat;

  /* Text Styling */
  text-align: center;
  font-weight: bold;
  font-size: 12px;
  color: inherit;
  opacity: 0.8;
}
A sample like this on mobile would work.
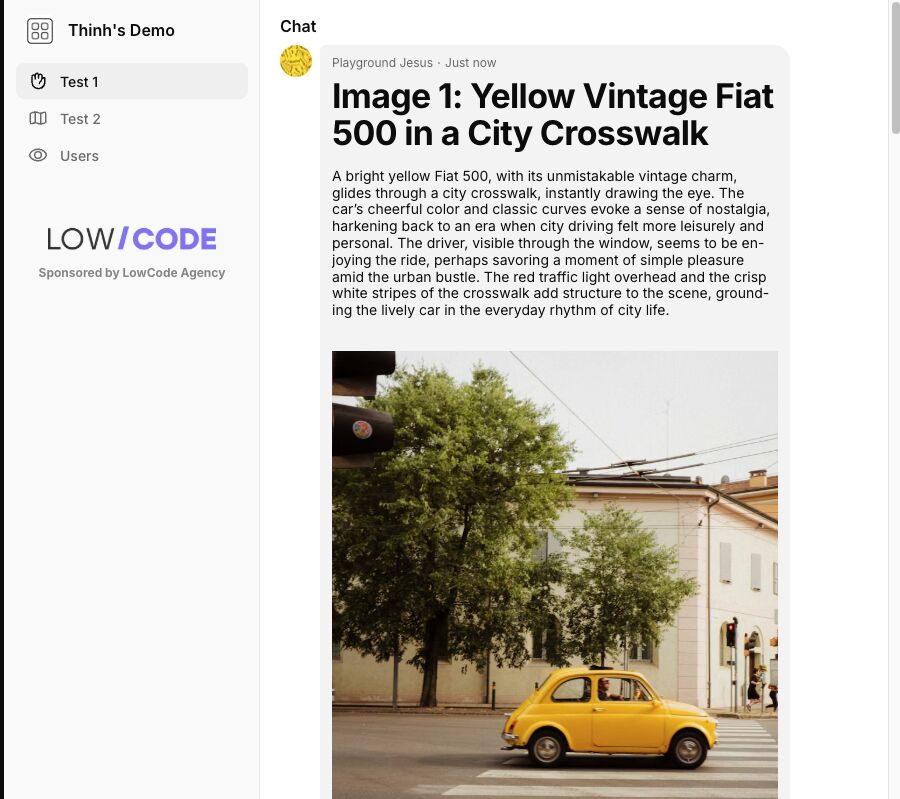
Here’s one on desktop, left side bar.
nav[class*="unified-side-bar"] ul::after {
  content: "Sponsored by LowCode Agency";
  display: block;

  /* Layout & Spacing */
  margin: 20px auto; /* Centers the block and adds vertical space */
  width: 90%;        /* Uses most of the sidebar width for the wide logo */
  padding-top: 70px; /* HEIGHT OF LOGO: Increase this number if the image overlaps the text */

  /* Image Styling */
  background-image: url('https://content.partnerpage.io/eyJidWNrZXQiOiJwYXJ0bmVycGFnZS5wcm9kIiwia2V5IjoibWVkaWEvY29udGFjdF9pbWFnZXMvYmQ0YjY5ZTMtMjBlYy00MWQ1LTliNTktOTc1ZTQxNGViYzQ3L2Y1MjNjNTU1LTJhYzQtNDY2MC04ZGIwLTc5MTgxNTZmZjUwOC5wbmciLCJlZGl0cyI6eyJ0b0Zvcm1hdCI6IndlYnAiLCJyZXNpemUiOnsid2lkdGgiOjEyMDAsImhlaWdodCI6NjI3LCJmaXQiOiJjb250YWluIiwiYmFja2dyb3VuZCI6eyJyIjoyNTUsImciOjI1NSwiYiI6MjU1LCJhbHBoYSI6MH19fX0=');
  background-position: center top;
  background-size: contain; /* Ensures the wide logo fits perfectly without stretching */
  background-repeat: no-repeat;

  /* Text Styling */
  text-align: center;
  font-weight: bold;
  font-size: 12px;
  color: inherit;
  opacity: 0.8;
}
Thanks a lot for this! This looks great, but I have to admit I don’t have any experience with CSS or coding.
Could you explain where exactly this code should be added inside Glide (or outside Glide)?
I’m not sure where this CSS needs to be placed or how to inject it into the app.
Any step-by-step guidance would be really appreciated
It should be in the doc Himaladin linked you to. You should be on a paid plan to have access to that.